Cake Pan Preparation
1. TRADITIONAL GREASE-FLOUR & PARCHMENT CIRCLE TECHNIQUE
 You will need….
- Clean and dry cake pans
- Butter/shortening
- Flour
- Parchment paper
- Scissors
- Pencil
Method
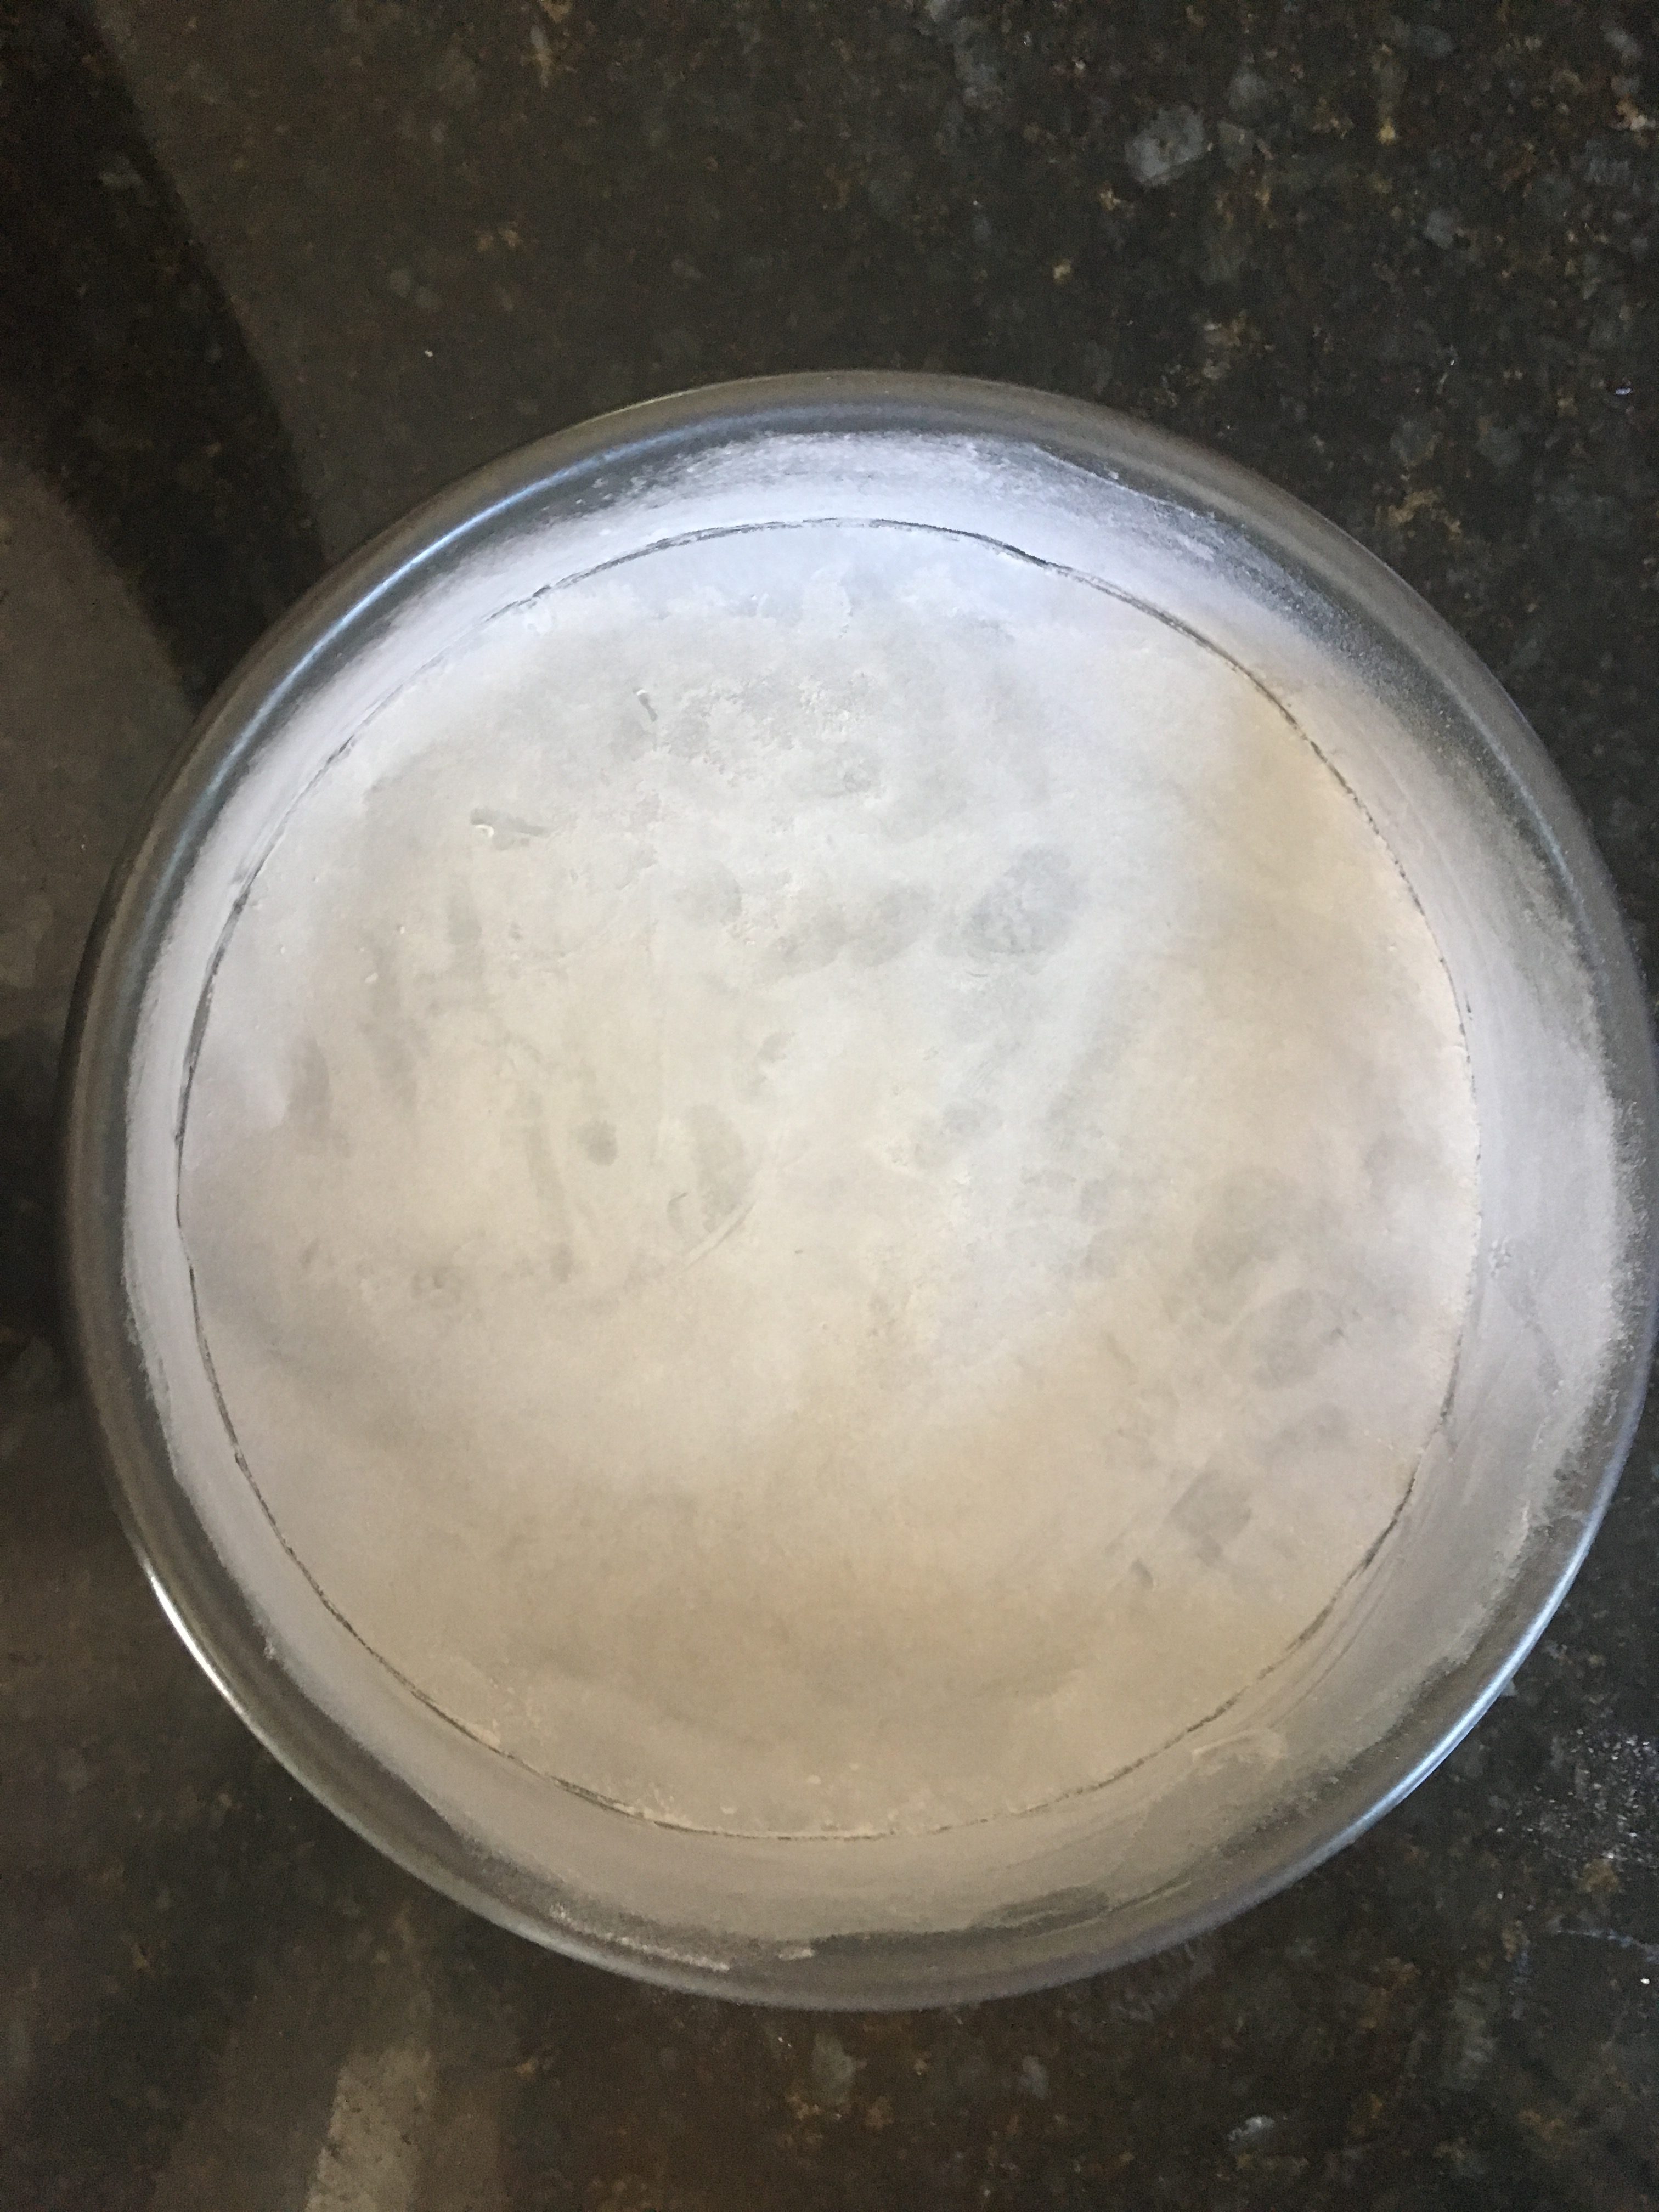
- Apply a thin even coat of butter or shortening on the bottom and sides of the cake pan. Why a thin coat? A thicker coat will lead to binding more flour forming a thicker crust which can give an unpleasantly dry taste to the cake.

- Put a scoop of flour on the bottom of the pan (use the same flour that your recipe uses).

- Tap the pan so the flour spreads around. Flour that comes in contact with the shortening sticks to it giving it a flour coat.

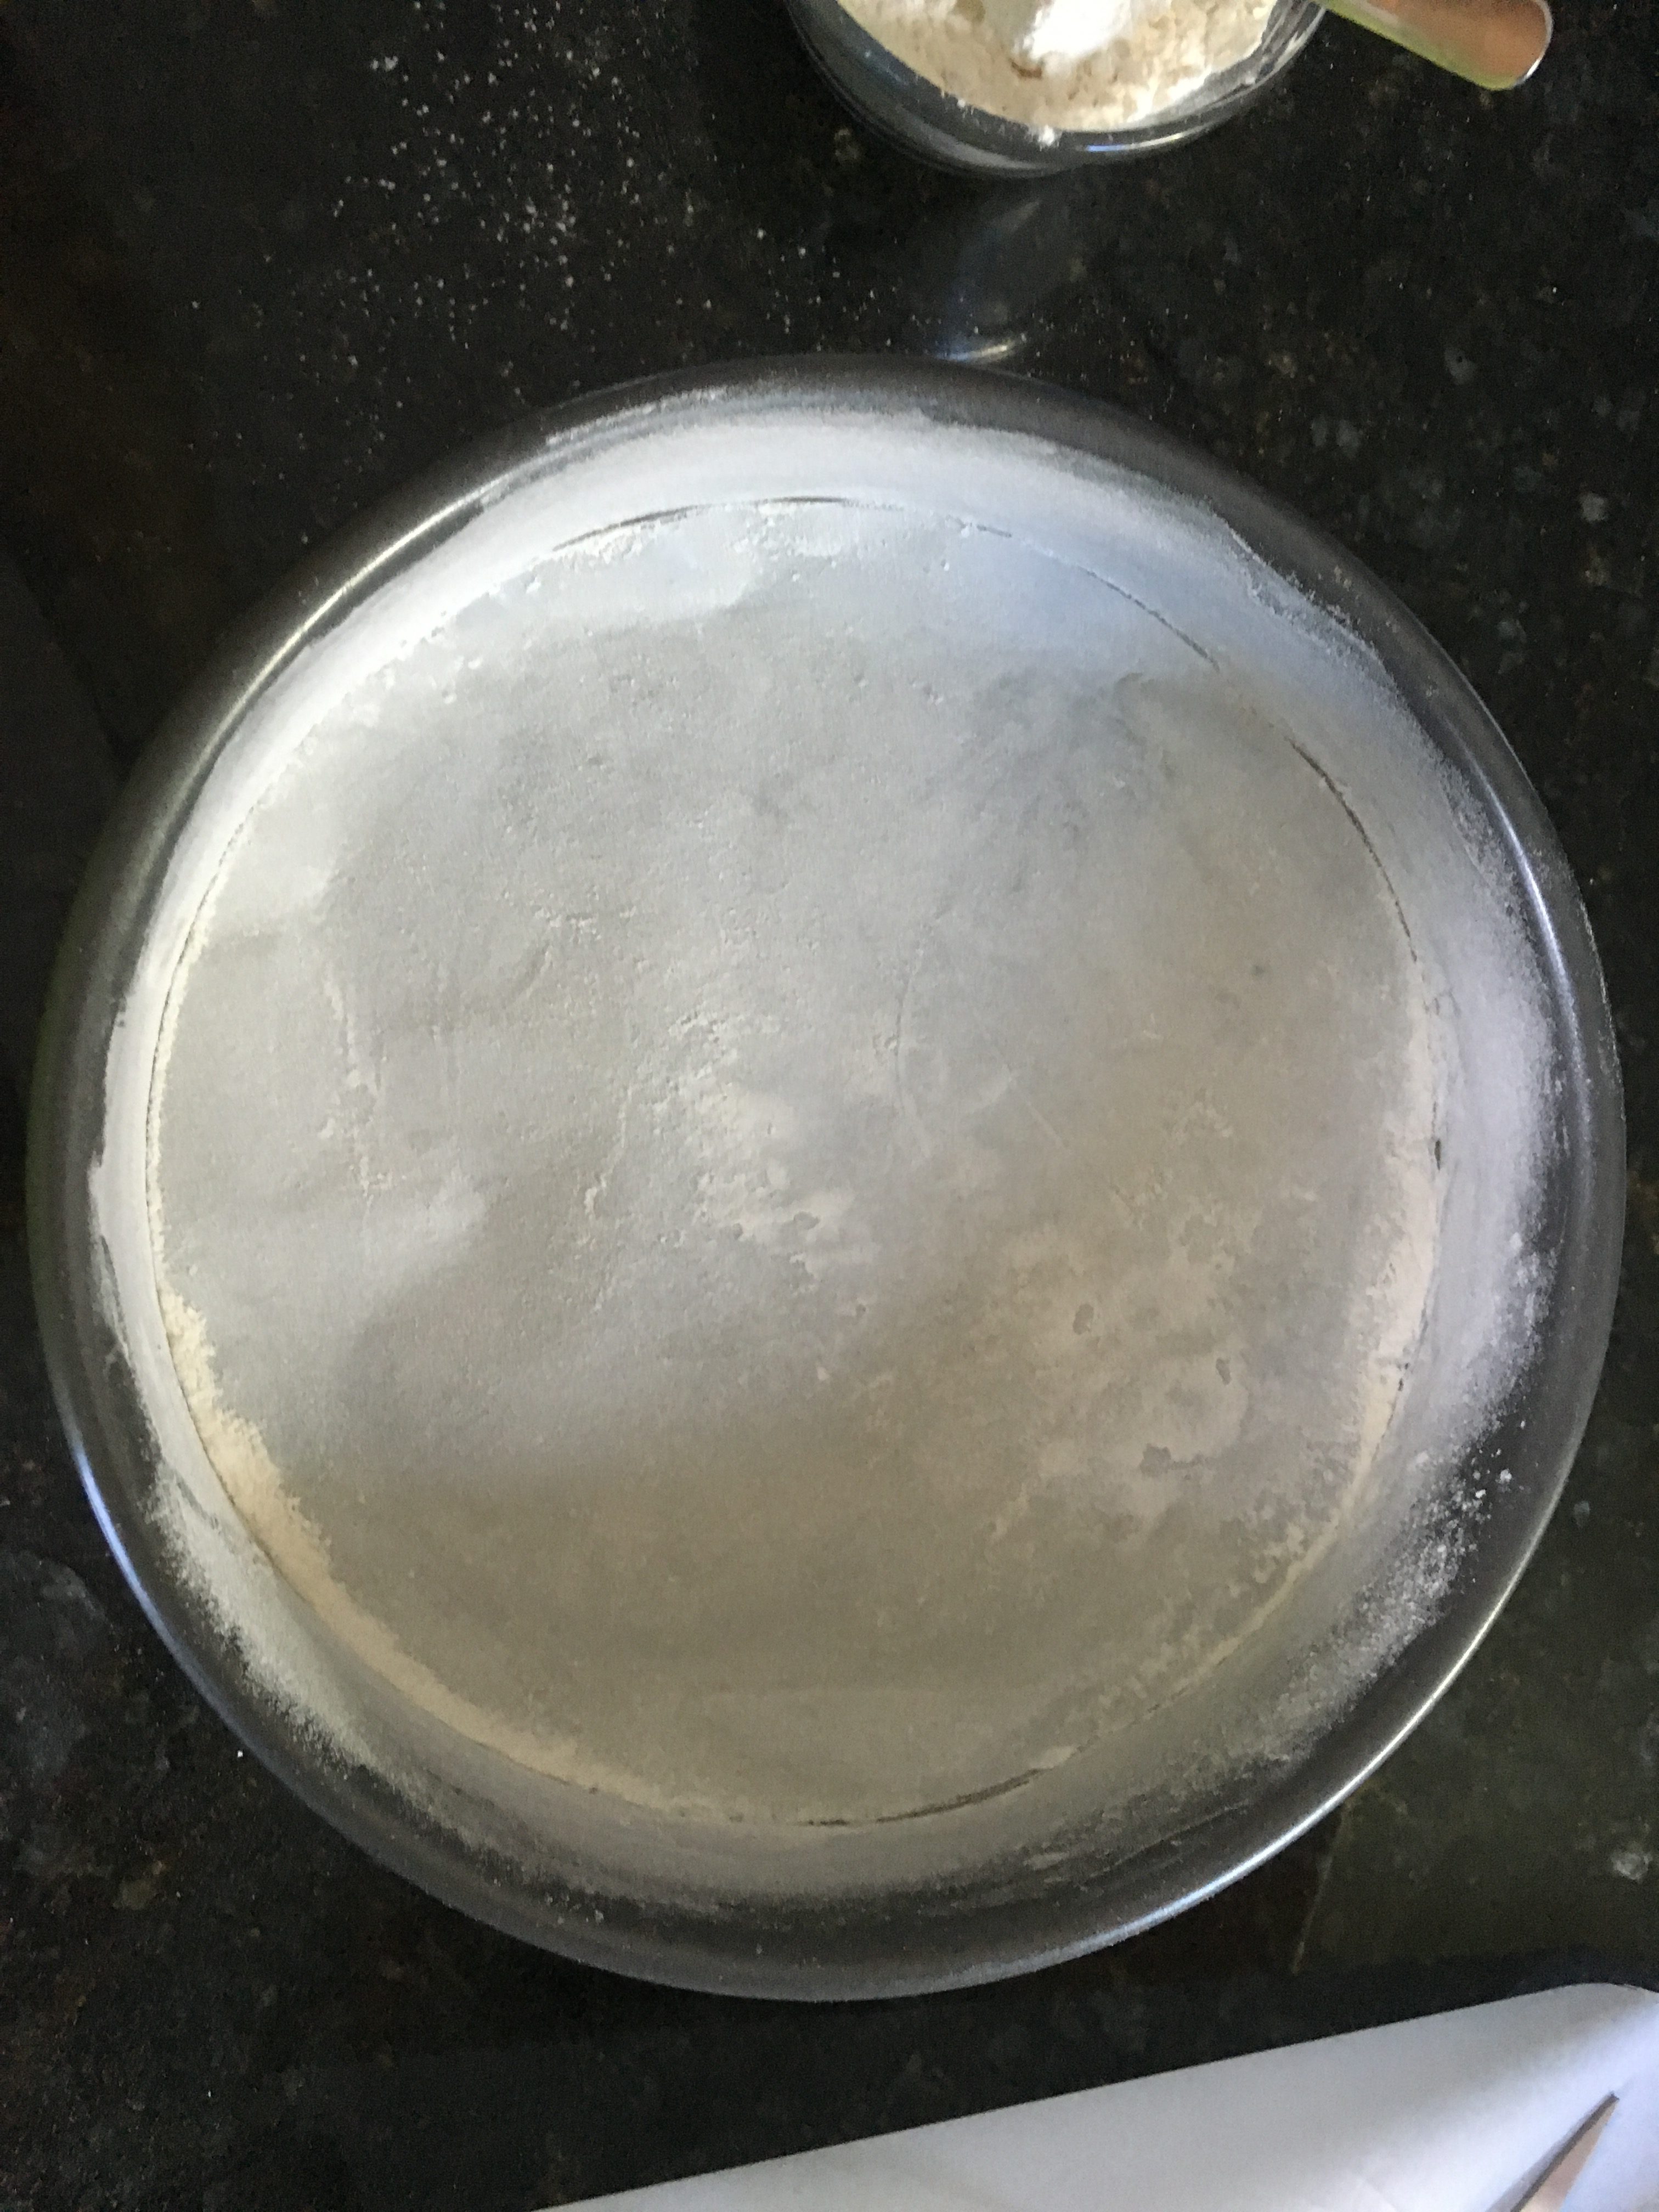
- Once the bottom is coated tilt and tap the pan so that the sides get evenly coated too.

- Tap out excess flour into a separate container (you can reuse it for your next pan).


When baking chocolate cakes I use cocoa powder to coat the greased cake pan- this forms a nice brown crust on the cake.
The traditional method involves an additional parchment circle step.
How does parchment paper serve? extra insurance !….an extra protected layer that ensures that the cake does not stick to the pan.
- Use the cake pan as size guide and outline with a lead-free pencil.

- Cut it out the parchment circle.

- Apply a thin coat of shortening and insert the greased circle into the pan.

- Sprinkle flour, tap sides to coat the parchment circle and tap out excess.


Pour in batter and bake at the suggested time and temperature. Once baked this barrier forms as a thin layered crust which does not significantly affect the taste or texture of the cake.
Can I omit “greasing and flouring” and directly use the parchment circles instead?
While I strongly recommend the traditional method of pan preparation, you can directly use parchment circles (follow steps 7-10). In this case, once the cake is baked and cooled use a blunt knife to detach the cake from the pan sides and invert it onto a cooling grid.

Bawi
July 19, 2016
Very interesting and good info. Keep up Thula!
Thulashitha RD
July 19, 2016
Thank you for the feedback!
Arunodhaya
July 19, 2016
This is a cool alternative for a lazy person like me. Can’t wait to try it out ?
Thulashitha RD
July 19, 2016
Great, I am glad you found it informative 🙂
Shridevi Pramod
August 15, 2016
Thula,,,,Reading your articles I can only imagine how much of experiments you have done in baking…Cant wait to try them soon…Waiting to learn more n more from you 🙂
reshma
September 18, 2016
thula how long can this be stored
Thulashitha RD
September 19, 2016
Hello Reshma! It stays for weeks in the fridge. I go through it pretty fast, so lets say 2 months and it’s still good 🙂
Eleanora Janczak
April 22, 2020
This is a nice blog. Keep it up. I Just shared it on my Twitter profile.